
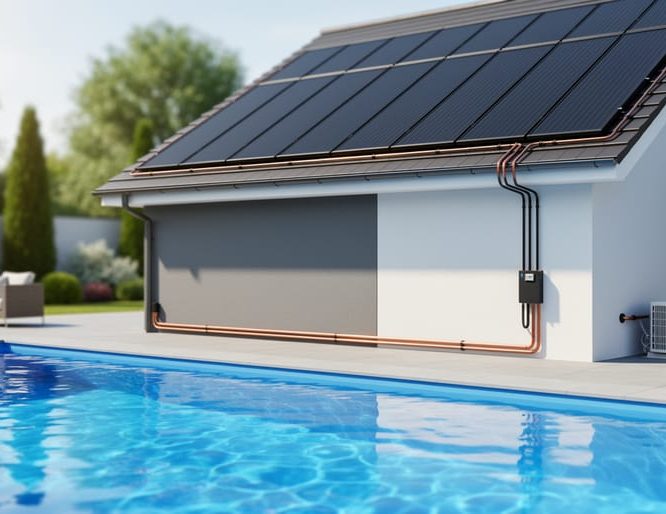
You can install a solar pool heating system in a single weekend with basic hand tools, and most homeowners finish the job in four to six hours. The method is simple: mount the solar collectors where they get the most direct sun, then plumb them into your existing filtration line after the filter and before the return, so your pool pump does the heavy lifting. No extra electricity, no fuel, and no monthly operating bill beyond the pump you already run.
That’s what makes solar heating such a smart upgrade. Once it’s up, the sun warms your water for free, extending your swim season by weeks while cutting your carbon footprint. It also pays for itself over time, which is why so many homeowners and installers choose it.
If you’re curious about how a solar system works the short version is this: pool water circulates through the collectors, absorbs heat from the sun, and flows back to the pool a few degrees warmer.
This guide walks you through the tools and materials you’ll need, the safety points to respect, each installation step in order, and how to confirm everything is working. Whether it’s your first DIY project or your fiftieth pool job, you’ll have a clear path from unboxing to a warmer pool.
Before You Start: Planning Your Solar Pool Heating Setup
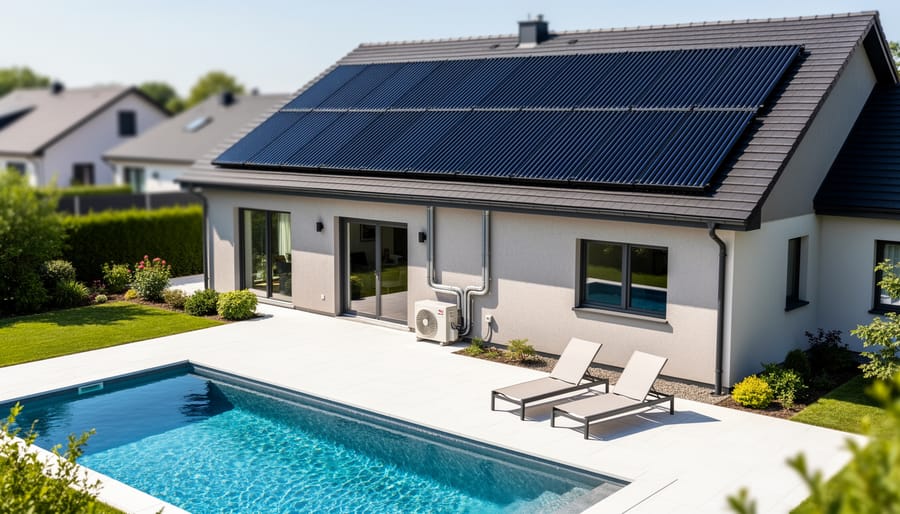
Choosing the Right Spot for Your Collectors
Sunshine is your fuel, so the best collector spot is the one that catches the most of it. Look for an area that gets direct sun for most of the day, ideally from mid-morning through mid-afternoon. In the Northern Hemisphere, a south-facing surface works best, though east- or west-facing roofs still deliver solid results with a little extra collector area.
Check for shade next. Trees, chimneys, and neighboring buildings can block the sun for hours, and even partial shading cuts your free heat. Watch the spot at different times of day before you commit.
Roof pitch matters too. A gentle to moderate slope usually captures sunlight well, and a steeper or unusually shaped roof may call for a different approach. If your roof is shaded, structurally uncertain, or too small, a ground or rack mount is a smart alternative, since racks can be angled toward the sun for better exposure. Once you have a candidate location, you can calculate collector heat output to confirm the space will warm your pool the way you want.
Mapping Your Plumbing Route
Before you pick up a saw, picture how water will travel. Your existing pool pump pulls water from the pool and pushes it through the filter. Next comes your heater, if you have one. Right after that, a flow control or diverter valve sends some or all of the water up to the collectors on your roof or rack. The sun warms it as it moves through, and the heated water drains back down and returns to the pool.
Think of it as one simple loop that branches off your current plumbing. A clear solar pool plumbing diagram makes this easy to sketch for your own yard.
Walk the route and measure it. Note where the pipe leaves the equipment pad, how high it must climb, and where the return line can slope back to the pool. Fewer bends mean less friction and a lighter load on your pump. A short, straight path also means less pipe to buy.
Tools and Materials You’ll Need for a Smooth Installation
Gathering everything before you start is the easiest way to keep this a one- or two-day project. Solar pool heating systems are built around a small set of standard parts, so there’s no need for specialty equipment or a long shopping trip.
Most kits bundle the core components, though contents vary by supplier. Here’s what typically comes in the box:
- Solar collectors, the panels that absorb the sun’s heat and warm your pool water.
- Manifolds, which join the collectors and spread the water evenly through them.
- Mounting hardware, including straps, clips, or brackets for a roof or rack.
- A flow control or diverter valve to direct water to the collectors when the sun is out.
- A pressure gauge or monitoring system so you can confirm everything is flowing properly.
Next comes the part you’ll usually supply yourself. These are common hardware-store items, and chances are you own a few already:
- PVC pipe and fittings to connect the collectors to your pump and filter loop.
- PVC primer and cement for strong, leak-free joints.
- A drill and bits for fastening mounts to the roof or rack.
- A tape measure for laying out collector spacing and pipe runs.
- A level to keep the array square and the pipes sloped for drainage.
- A pipe cutter or fine-toothed saw for clean, square cuts.
Before you begin, lay everything out and check it against the kit’s parts list. Collectors and manifolds are designed to fit together without fuss, so a quick inventory now saves a mid-project trip. Check the sizing of your PVC against your existing plumbing so the connections line up on the first try.
Safety First: Warnings to Review Before You Climb or Cut Pipe
Most solar pool heating installs go smoothly, and a few simple habits keep them that way. Treat this section as a quick pre-flight check before you pick up a ladder or a pipe cutter.
Roof and ladder safety. Set your ladder on firm, level ground and extend it at least three feet above the roof edge. Wear soft-soled shoes with good grip, and use a harness and roof anchor on anything but a gentle pitch. Work with a helper when you can, especially when carrying collectors, which are bulky and catch the wind.
Mind the weather. Plan your work for a cool, calm morning. Collectors can get surprisingly hot in direct sun, so wear gloves, cover them while you work, and drink plenty of water. Skip roof work entirely if it’s windy, wet, or icy.
Power and pressure first. Before cutting or connecting any plumbing, shut off the pump at the breaker, not just at the timer, and open the system to relieve pressure. Pressurized water and trapped air can spray fittings loose.
Keep tools and wet hands away from electrical components, and never improvise with wiring near the pump or controls.
Know when to call a licensed professional. Bring in help for any electrical work, steep or structurally uncertain roofs, or situations where local permits apply. Rules vary by area, so check your local requirements and review the NEC pool solar code requirements before you begin. Calling in a pro for one tricky step is a smart call, and it still leaves you with a system that’s easy to maintain and cost-effective for years.
Installing Your Solar Pool Heating System, Step by Step
Mounting the Collectors
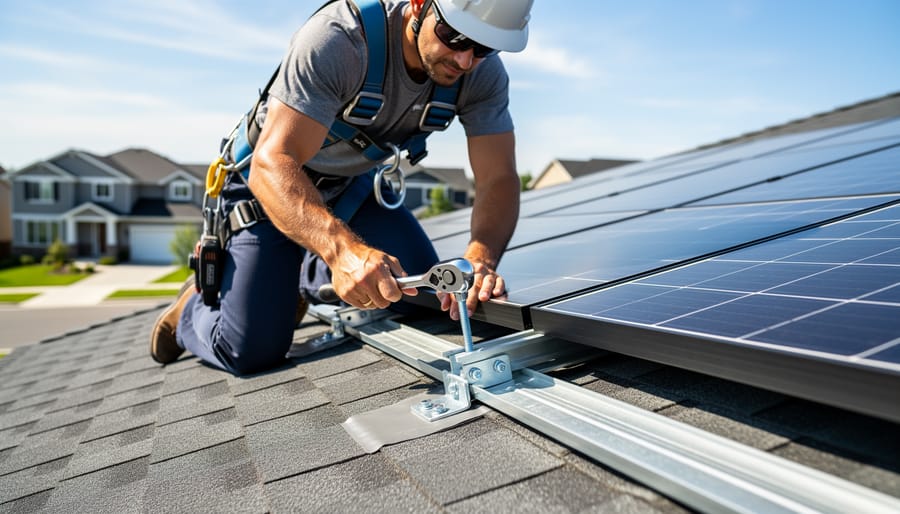
Start by laying out your collectors on the roof or rack before you fasten anything. Set them edge to edge in a single row or in banks, keeping the layout square and level so the manifold runs cleanly across the top and bottom. Leave a small gap between panels as the manufacturer specifies, since that space lets the collectors expand in the heat without stressing the connections.
Mark your anchor points with a chalk line, then fasten the mounting straps or brackets into rafters or solid rack members, not just the roofing surface. Sealing every penetration with a quality roofing sealant keeps water out and protects your roof for the long haul. Check that the collectors tilt slightly toward the drain side so water can empty out when the pump shuts off.
Wind is the biggest threat to any rooftop array, so don’t skimp on fasteners. Use every strap and bracket provided, pull them snug without crushing the collector, and place extra anchors along the windward edge. Keep the array a few inches back from the roof edge where gusts are strongest.
EJ Solar Pools collectors are built to handle sun, weather, and years of seasonal use, so a secure, well-spaced mount lets that durability do its job and keeps your free solar heat flowing season after season.
Connecting Manifolds and Piping
Once your collectors are mounted, it’s time to link them together. Each collector panel connects to a manifold, the pipe that carries water into the panels and collects it again once it’s warmed. Slide the collector ports into the manifold fittings, using the couplings or rubber connectors in your kit, and tighten the clamps firmly. Dry-fit everything first. Seeing the full layout before any glue comes out saves you from costly rework.
Slope matters more than most people expect. Run your supply and return pipes with a slight, steady pitch so water drains back toward the pool or the equipment pad when the pump shuts off. That drainage protects the system from freezing in cooler climates and keeps trapped water from overheating on the roof. A level and a few pipe supports make this easy. Aim for a gentle, consistent downward angle with no low spots where water can pool.
For clean, leak-free joints, cut your PVC square, deburr the edges, and wipe the surfaces clean. Apply primer first, then cement, and push each fitting home with a quarter-turn, holding it for several seconds so it doesn’t push back out. Work one joint at a time so the cement stays wet and workable.
Then comes the hardest part: waiting. Cement needs time to cure before it can handle water pressure. Check the label for your product’s cure time, which often runs a couple of hours at minimum and longer in cool or humid weather. Rushing this step is the most common cause of slow leaks, so give your joints the full time to set.
Adding the Valves and Pressure Monitoring
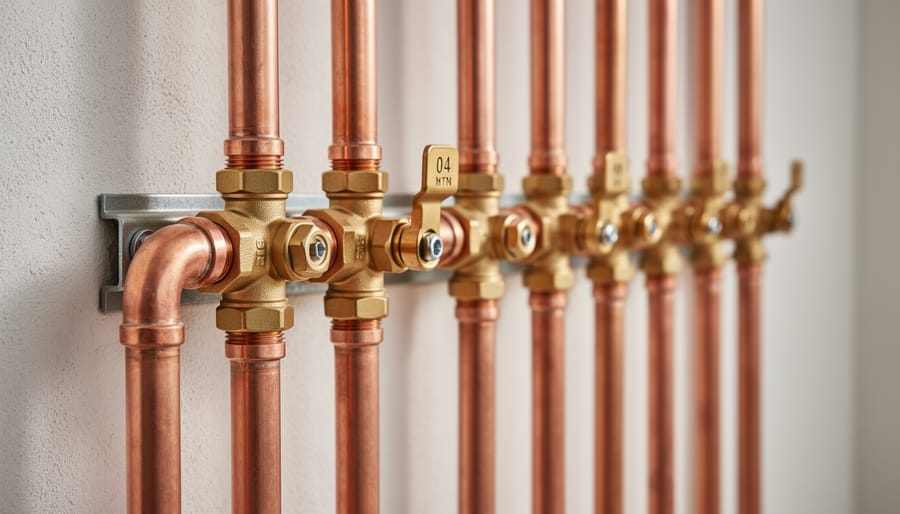
The valves and the pressure gauge are the last pieces of the loop, and they’re small parts that do a lot of protecting. Plan to place them on the plumbing between your filter and the collector inlet, so clean, filtered water is what flows through the panels.
Start with the flow control valve. Install it on the supply line leading up to the collectors, and consider adding a second valve on the return side. A flow control or diverter valve lets you send water through the solar loop when the sun is out and bypass it when it isn’t, such as on cloudy days, at night, or when the pool is already warm enough. It also lets you throttle the flow so water moves steadily through every collector instead of racing through a few. Good solar heater usability comes down to details like this: a valve you can reach and operate easily is one you’ll actually use.
Next, mount the pressure monitoring system. Thread the gauge into a fitting near the collector inlet, where you can read it at a glance without climbing back onto the roof. Seal the threads with PTFE tape, and keep the dial facing a spot you walk past often.
Why does this matter? Pressure is your early warning system. A steady reading means water is circulating as designed. A sudden jump can point to a closed valve or a blockage, while a drop may signal a leak or trapped air. Catching either one early protects the collectors and the pump, and it confirms the system is delivering free solar heat to your pool.
Before moving on, note your normal reading in a safe place. It becomes your baseline for every check from here on.
Checking Your Work: Start-Up, Leak Tests, and Next Steps
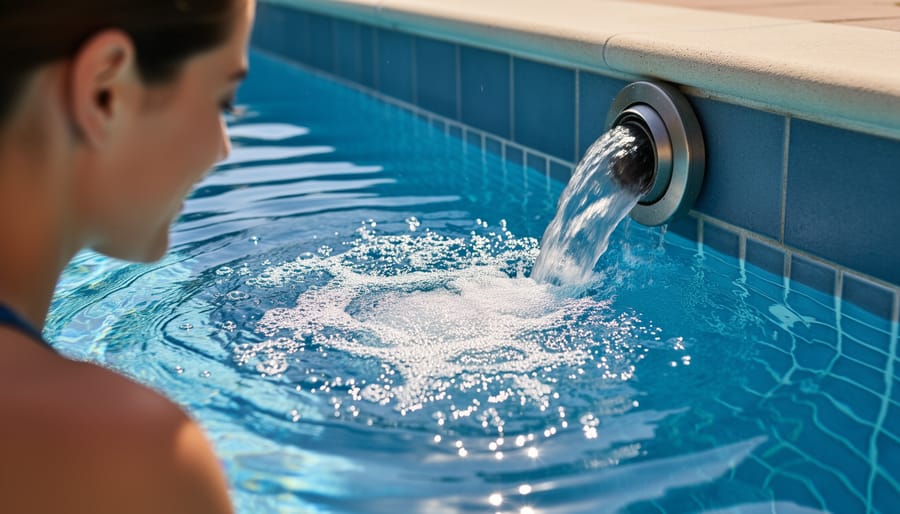
Once the last fitting has cured, resist the urge to fire everything up at once. Start with the pump off and the flow control valve set so water can reach the collectors. Then turn the pump on and let the system fill slowly. Filling gradually pushes air out ahead of the water instead of trapping it in the manifold.
As the collectors fill, walk the whole loop and look at every joint. A slow weep at a glue joint is easy to fix now and a headache later. Vent trapped air at the highest point of the system, and if you hear gurgling or see sputtering at the return, keep bleeding until the flow runs smooth. Then check your pressure gauge. You want a steady reading that matches the range in your manual, not a needle that climbs or wobbles.
Before you call the job done, run through this quick verification checklist:
- No visible leaks at any pipe joint, manifold connection, or valve.
- A steady pressure reading on the gauge once the pump settles.
- Collectors that feel warm to the touch as water circulates through them.
- Return water to the pool that is noticeably warmer than the water leaving it.
- Valves that turn freely and hold their position.
On sunny days, expect the pool to climb a few degrees over the first several days. Keep a simple log of the temperature each afternoon. If the rise is slower than you’d expect, recheck for trapped air or a partly closed valve before assuming anything is wrong.
For long-term care, a little routine goes a long way. Glance at the pressure gauge now and then, since a change from your baseline is often the first sign of a clog or leak. Look over the collectors and connections each season for debris, loose hardware, or wear. If you live where winters bring freezing temperatures, drain the system or follow the manufacturer’s winterizing guidance. These small habits keep your free solar heat flowing efficiently and your running costs low.
Installation Questions Homeowners and Installers Ask Most
How long does installation take?
Most homeowners finish in a day or two, depending on roof access and how far the collectors sit from the pump. Pre-planned layouts and matched manifolds keep the plumbing straightforward, and the primer and cement cure time is the main thing you can’t speed up.
Can I install it myself or should I hire a pro?
If you’re comfortable on a ladder and with basic PVC work, a DIY install is realistic. Bring in a licensed pro for electrical work, steep or structurally uncertain roofs, or anything your local permit rules require.
Do I need to modify my existing pump?
Usually not. The solar loop ties into your existing pump and filter line, so you’re adding a diverter valve and piping rather than replacing equipment. If your pump is undersized for the collector area, a pro can help you check flow before you commit.
How do I know if the system is working properly?
Watch your pressure gauge and confirm water is moving through every collector. Then compare water temperature over the first few sunny days; a steady rise tells you the loop is doing its job.
If the pool isn’t in use, there’s no extra work on your end. Close the diverter valve to bypass the collectors, and your pump runs as usual without circulating water through the roof. Leaving the system idle costs nothing, which is part of why solar heating stays so cost-effective year after year.
Once your first season is behind you, routine upkeep amounts to an occasional visual check of fittings and the gauge. That low-maintenance profile is a big reason homeowners and installers alike find solar pool heating one of the easier eco-friendly upgrades to live with.
Installing solar pool heating is a project most homeowners and installers can handle with a little planning, the right tools, and a clear process. Choose a sunny spot, map your plumbing route, mount the collectors securely, make clean connections, add your valves and pressure monitoring, and then check carefully for leaks before you call it done.
The payoff arrives quickly. Your pool warms with free energy from the sun, your heating costs drop, and your home’s environmental footprint shrinks every season you swim. Since the system uses simple, durable parts, upkeep stays light and the savings keep adding up year after year.
If you’re ready to get started, take a look at EJ Solar Pools’ solar heating systems and the support resources that go with them. Whether you’re a first-time DIYer or a seasoned pool professional, you’ll find the guidance to get your installation right and enjoy a warmer pool for many summers to come.